Helpful Information
5 Easy Arts and Crafts Activities for Kids to Explore at Home
access_time18min read

In the same way play can have therapeutic benefits for kids; arts and crafts activities can be great for developing minds. Kids can visually express and record experiences, perceptions, feelings and imagination through art. They can explore different sensations with paint, crayons, and textas, can strengthen the muscles in their hands and fingers when colouring-in, and work on planning skills which are needed to draw an image or to bring a cardboard-creation to life!
We’ve listed five of our favourite arts and crafts activities below for you to try at home with your kids. These activities are fun, fast, and won’t break the bank! Best of all, each activity provides kids with an opportunity to communicate what they’re thinking or feeling in a way which may be more comfortable than saying it out loud.
Before we get started
There are a few things you’ll need to get started. Don’t worry if you don’t have them all! You can always use bits and pieces you have laying around the house, pick them up from your local news agency, or order art supplies online.
- Paper (plain and coloured)
- Pencils, textas, crayons
- Paint
- Paintbrushes
- Pipe cleaners
- Pop sticks/match sticks
- String
- Tissue paper
- Scissors
- Glue
- Sponges
- Cotton balls
- Feathers
- Cardboard
- Drinking straws
- Egg Cartons
- Cupcake liners
- Plastic plates
Pour Painting Art
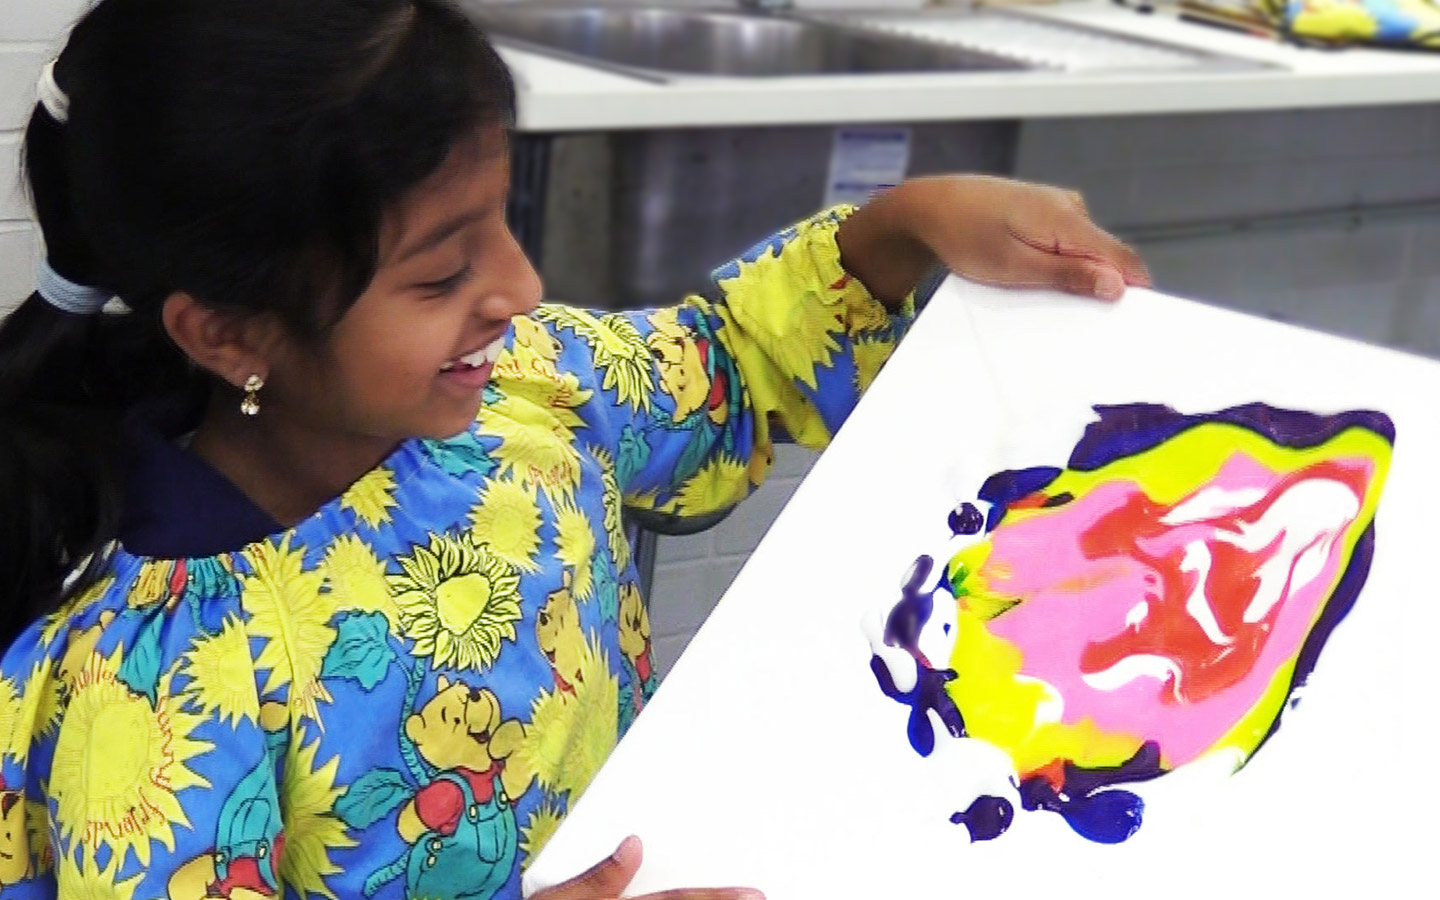
This style of art is exactly as it’s named – all you need to do is pour paint! Select different coloured paint, pour each onto a canvas and then keep moving it around until you’re happy with how it looks.
What you’ll need:
- Coloured paints
- Water
- Canvas (or thick card)
- Empty cups
- Straws
- Pop-sticks
How to do it:
Step 1: Select multiple coloured paints and place each colour into an empty cup. Choosing 5-6 different colours works quite well.
Step 2: Add some water into each paint container and mix until a runny consistency is achieved.
Step 3: Take turns to pour each coloured paint onto the canvas. We find it works best if you layer by pouring paints on top of each other as they ‘bleed’ through.
Step 4: Move the canvas around so the paint can drip in different directions across the surface.
Step 5: Use pop-sticks or straws to help move the paint around the canvas.
TIP: Try using primary colours (red, blue, yellow) and explore mixing these with other colours to see what colour shades you can create!
Therapeutic benefits for kids:
Although they don’t require much movement, fun activities like Pour Painting Art can provide physical benefits to kids by supporting them to gain control over the small muscles in their hands. Whatever the movement – pouring paint or moving the canvas around very carefully – Pour Painting art can support kids to coordinate their thoughts and actions too, which is a key step of childhood development. Expressive art like Pour Painting can also awaken a kid’s imagination and support them to discover a new outlet to express who they are and what they like.
DIY Scratch Art
This is a simple but fantastic way to let your kid’s imagination run wild with a pretty cool ‘magic’ background to reveal their picture underneath!
What you’ll need:
- Thick card/paper
- Black paint
- Dish soap (or dishwashing liquid)
- Foam brush (or paintbrush)
- Crayons
- Matchsticks (or q-tips)
How to do it:
Step 1: Cover the entire piece of paper by colouring it with crayons. You don’t need to have specific drawings at this point in time, just different colours on the page.
Step 2: Mix some black paint (enough paint to cover the canvas) with a small amount of dish soap. The dish soap will make the paint easier to scratch off later.
Step 3: Paint over the crayon with a layer of your black paint mixed with dish soap.
Step 4: Let the paint dry.
Step 5: Scratch away at the surface of the paint using a matchstick or q-tip. Create your own drawings and designs and reveal the magical colours underneath!
TIP: If you’re pressed for time, you can scratch away the image whilst the paint is still wet.
Therapeutic benefits for kids:
Making DIY Scratch art can, in some cases, be effective in improving mood and calming the body and mind – especially with kids who are prone to hyperactivity or anxiety. DIY Scratch Art lets kids explore different sensations too, with paint, crayons, and scratching. There are also physical changes that can come about through making DIY Scratch art. For example, improved hand-eye coordination and muscle development can be achieved through the different steps kids need to complete to make their art.
Tie-Dye Art
Have you always wanted to give tie-dye a go, but didn’t want the hassle of using different fabrics, inks or waiting for it to dry? We’ve got a quick and easy way to achieve the same results, but with baby wipes!
What you’ll need:
- Baby wipes
- Textas
- Rubber bands
How to do it:
Step 1: Open and lay a baby wipe directly in front of you.
Step 2: Pinch and hold the centre of the baby wipe. Twist to form a tight cylinder.
Step 3: Secure rubber bands at various points along the cylinder. (Using more baby wipes will help with adding greater patterns. 3-4 is recommended).
Step 4: Colour in different sections of the baby wipe with different coloured textas.
Step 5: Untie rubber bands and open baby wipe to reveal tie-dye pattern.
Step 6: Set this aside to dry.
TIP: You can use your tie-dye creations by turning it into bunting and decorating your child’s room, or use it in other art creations by gluing it onto paper or canvases. You could also use coloured dye and an eye dropper to colour the baby wipes instead of using textas.
Therapeutic benefits for kids:
Establishing great social skills at a young age can be incredibly helpful for kids as they grow-up. Tie-dye art can be practised with friends or in a group, where kids can be encouraged to work together, learn to share and accept responsibility for how their actions affect others. Tie-dye art can, therefore, enhance social development by providing an opportunity for kids to appreciate differences between people, their art and accept each other’s differences. Even at home, interactions with a therapist or a parent can contribute to the development of social skills, as it encourages relationships and trust.
Tie-dye art also lets kids explore different sensory experiences with wet/cold textures. Like DIY Scratch Art, kids get a chance to develop the coordination skills needed for colouring with textas too, as well as making and untying rubber bands.
Paper Mosaic Art
A mosaic is a piece of art made by assembling small pieces of materials such as coloured glass, stone, paper or plastics. It is often used in decorative art or as interior decoration and is a great way to teach kids to use smaller objects to create larger pictures.
What you’ll need:
- Thick card/paper
- Coloured paper
- Led pencil
- Scissors
- Glue stick
How to do it:
Step 1. Draw a design on the piece of paper. Clear and simple designs are easiest and often the most effective. Shapes, nature, food or animal images work well. You could even find a picture in a book and use it as inspiration.
Step 2. Cut coloured paper into strips of different lengths and sizes.
Step 3. Cut strips of paper into smaller squares, rectangles, triangles and diamonds so that it will fit within the design on the paper.
Step 4. Glue small squares (and other shapes) into the design. Remember to leave small gaps between the pieces as this adds to the effect of the image.
Step 5. Keep gluing until the entire design is filled.
Therapeutic benefits for kids:
Paper Mosaic art can support kids to develop and better understand their feelings. Being upset or hurt is not always easy to describe in words, but kids can put these emotions into a Paper Mosaic and make it easier for themselves and others to understand. This creates a starting point for conversation, which can lead to a more open expression of feelings and thoughts.
To complete a Paper Mosaic, kids need to use their planning and cognition skills too, to draw the image and then determine what pieces will ‘fit’ best to bring the art to life. Kids will also develop their hand/eye skills when drawing shapes/images for the mosaic, cutting the paper and gluing the pieces onto the art.
Marble Run Art
Does your kid LOVE arcade games? Marble Run art is just like that, but made with a few simple things found around the house!
What you’ll need:
- Large cardboard box (or pieces of cardboard)
- Excess pieces of cardboard
- Pop-sticks
- Matchsticks
- PVA glue
- Plastic or foam cups
- Sticky tape
- Pipe cleaners
- Marbles
How to do it:
Step 1. Gather all your pieces of cardboard together. Select the largest piece as the base for the game.
Step 2. Measure out excess cardboard pieces to create side barriers.
Step 3. Glue side barriers onto the largest piece of cardboard you are using as the base.
Step 4. Measure out how many plastic cups will fit along the bottom of the cardboard piece. Secure each cup onto the bottom by gluing this down.
Step 5. Use PVA glue to glue the pop sticks and matchsticks onto the cardboard. Try placing this at different angles and positions on the cardboard. This is what the marble will bounce off.
Step 6. Once the glue has dried, stand the cardboard upright and slightly on an incline. This will allow the marble to travel down the game.
Step 7. Use marbles to roll across your marble run. Try and get as many marbles in the cups as possible! If playing with a family member or friend, make sure to set clear rules to take turns and have fun!
TIP: As an added component of the game, write down different numbers on the cups to help with accumulating points (e.g. the person with the most points is the winner).
Therapeutic benefits for kids:
Whether painting a picture, writing a play or creating an intricate Marble Run, kids learn simple things like colours and shapes, as well as experiential lessons like cause and effect, choices and consequences, problem-solving, and how to make decisions.
To make a Marble Run, kids need to use their planning skills to determine where to place pop-sticks on the board. They will also need to use their hand/eye coordination to move and glue the pop-sticks down. Once the Marble Run is made, kids can also develop their social and communication skills too as they practise taking turns playing the game.
Top Tips for Parents
When creating art, be prepared for a mess! Set-up a space where your kid is able to be creative and experiment. We recommend you place an old table cloth or newspaper on the dining table or floor, or set-up outside (if the weather permits). This will save your furniture from any unwanted colour changes.
Try to avoid giving direction. As art is all about creativity and self-expression, it is important to let your kid do just that. Consider using encouraging language like “experiment with different colours or paper” vs “draw a rainbow”.
Don’t be afraid to encourage discussion, too. Art is a great opportunity to engage in conversation and get an idea of what your kid’s thoughts are! Ask questions like “tell me about what you’ve made” or “what is that there?” to help spark conversation. You might be surprised to hear their response!
Try not to add or change anything. Your kid will demonstrate their own creativity and imagination through their artwork. It is important not to pressure them into thinking what they’ve created isn’t good enough – it is perfect just as it is (even if it’s simply a set of dots or paint smeared on a page)!
Arts and Crafts Therapy Group
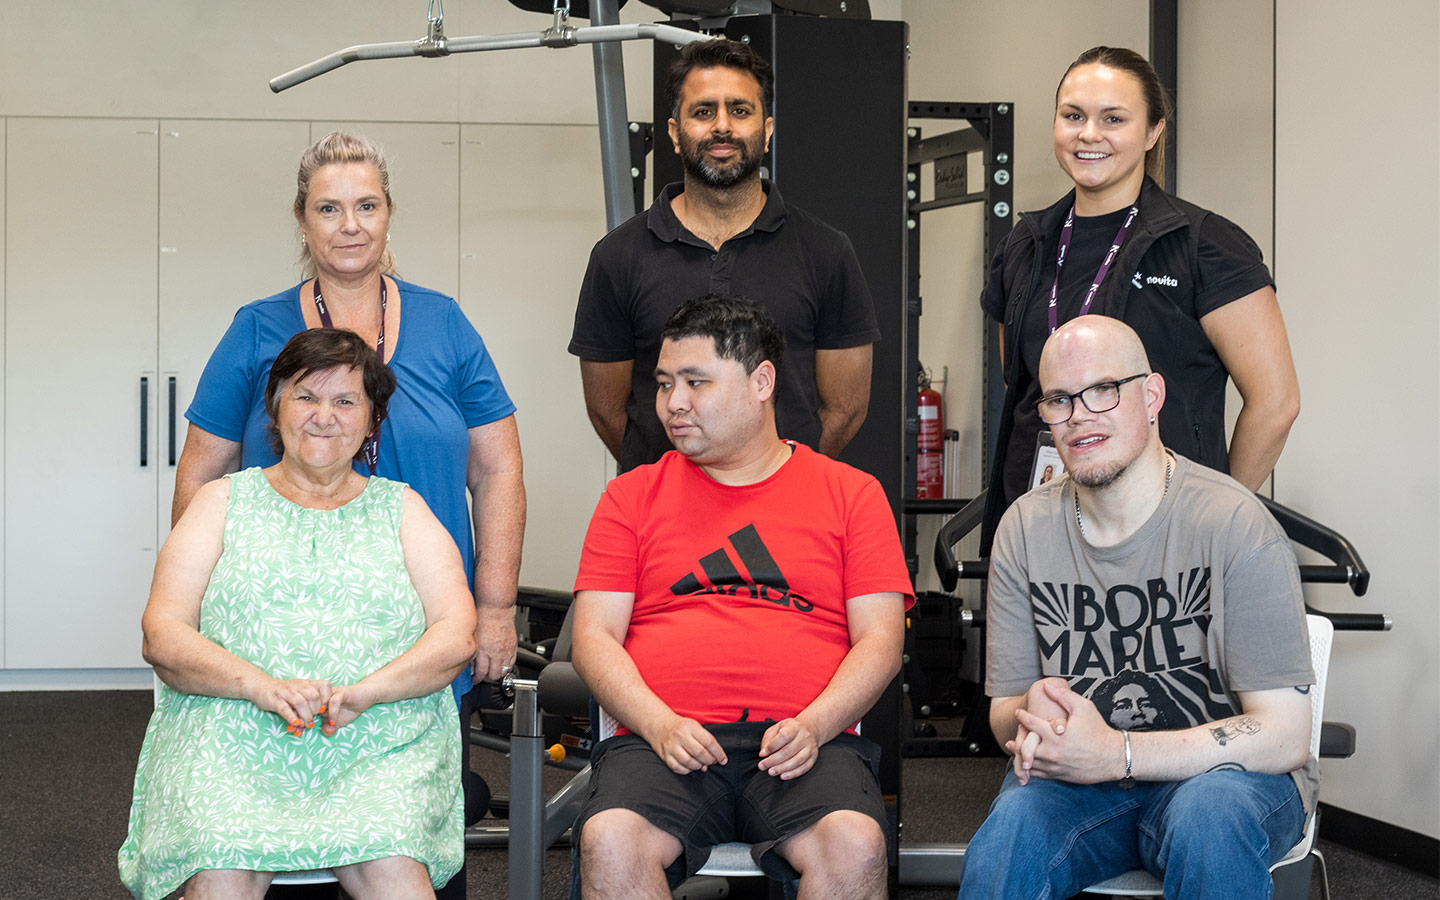
During the school holidays, Novita runs a series of ‘Arts and Crafts’ therapy groups for kids aged 7 to 12 who love being creative with their hands. The group encourages self-expression through fun activities like the ones in this post designed to overcome the limitations of language. It’s a great place for kids to make new friends too as well as work on important social skills like asking for help or helping others.
Arts and Craft therapy group is for kids of all abilities and we will customise the session to meet specific needs as required. The group costs $59.76 per hour and can be funded through your NDIS package, under the support category: Improved Daily Living Skills. One parent is required to stay at the group so they can support their kid with some of the harder tasks like mixing different coloured paints or putting art away to dry.
Kids living with high functioning autism and intellectual disability tend to enjoy this group especially.
Find an Arts and Crafts therapy group near you. Book your school holiday groups online.


